

Creative Speech Therapy Ideas: Using Stickers for Articulation, Apraxia and Language Goals
Discover creative speech and language therapy ideas using stickers! This blog post explores how to use stickers to target apraxia, enhance articulation trials, and create engaging sticker scenes. Perfect for achieving various goals in speech sessions, this low-prep, high-impact tool is a favorite among kids and therapists alike.
I want to shine a spotlight on an often underrated but inexpensive versatile resource for targeting goals in our speech therapy sessions. They are lightweight, require minimal prep, and the kids absolutely LOVE them! Yes, I’m talking about……

What is it about sticky pieces of paper that is so intriguing?
Recently, I’ve been using a Paw Patrol Puffy Sticker Book that I found at Marshalls (they also had a construction vehicle one!). It’s become a favorite among my kids, and I just had to share all the ways we can use stickers to target both speech and language goals.
Use stickers for……
Speech Sound Practice
Working with kids with Childhood Apraxia of Speech. When adding stickers to a page or background scenes model “power phrases” like “put on”, “take off” and “my turn” and use self advocacy phrases like “help me” and “it’s stuck”.
Sticker Charts: Create a chart with different articulation targets. Each time a child successfully practices a target sound, they get to place a sticker on the chart. This visual reinforcement can be very motivating (ok, so this one is overused and underwhelming, but I had to add it!)
Sticker Stories: Have the children create a story using stickers. Each sticker represents a word or sound they are working on. They can narrate their story, practicing their target sounds as they go.
Language Development
Sticker Sequences: Use stickers to create sequences or patterns. Have the child describe the sequence, focusing on using words like "first," "next," and "last."
Sticker Descriptions: Give each child a set of stickers and have them describe what they see. This can help with vocabulary building and descriptive language.
Sticker Scenes: Provide background scenes and let children create their own stories using stickers. Have them narrate their story, focusing on sentence structure and vocabulary.

STICKER SCENES
Add sticky magnets from a magnet tape roll to stickers to create magnetic stickers!
Social Skills
Sticker Conversations: Use stickers to prompt conversations. For example, place a sticker of a happy face and ask, "What makes you happy?" or use a sticker of a group of friends and discuss friendship and social scenarios.
Emotion Stickers: Use stickers depicting different emotions and discuss each one. This can help children identify and express their feelings.
Following Directions
Sticker Maps: Create a simple map or scene on paper and use stickers to give directions. For example, "Place the dog sticker next to the tree" or "Put the car sticker on the road."
Examples with Paw Patrol Puffy Sticker Book
To give you some concrete examples, here’s how I’ve been using the Paw Patrol Puffy Sticker Book in my sessions:
Prepositions: Receptive and expressive use. "Put Chase under the tree," "Where is Chickaletta?"
Expanding Utterance Length: Targeting 2+ word phrases. "Go Ryder," "Marshall wants a ride," "Bye ___." I model and repeat these phrases throughout the session.
Working with children with Apraxia: Power phrases like “put on”, “take off” and “my turn”. Self-advocacy phrases like “help me” and “it’s stuck”.
Gestalt Language Processors: Mixing and matching phrases. For example, if a child uses "Rubble on the double" and "I'm fired up," I model a combination like "Rubble is fired up."
Production of 2+ Syllable Words: We worked on "Mayor Humdinger" - a motivating 3-syllable word!
Verb Tense: Using background scenes with minis, we practiced past tense: "The car jumped over the sign," "He drove away."
Negatives: Using stickers on background scenes. "I don’t want it there," "Not in," "Not on my nose!"

PAINT STICKS WITH PACKING TAPE
Use paint sticks or tongue depressors and cover them with packing tape for repeated articulation trials.
Low Prep, Low Expense Ideas
Here are some additional low-prep, low-expense ideas to get plenty of repetitions with stickers:
Paint Sticks or Wooden Tongue Depressors: Add stickers for each target the child gets correct. I add packing tape to my paint sticks so kids can put on and take off stickers over and over for multiple trials!
Body Parts: Stick stickers on different body parts on you and the kids following each production, then have the kids take them off again while practicing their target sounds, words, or sentences.
Matching Games: Add matching stickers onto milk or juice lids, or cardboard circles or squares and play a matching game with them.
Stickers are a fantastic tool for making speech therapy sessions fun and engaging. I hope you find these ideas as helpful and enjoyable as I do. Happy sticking!
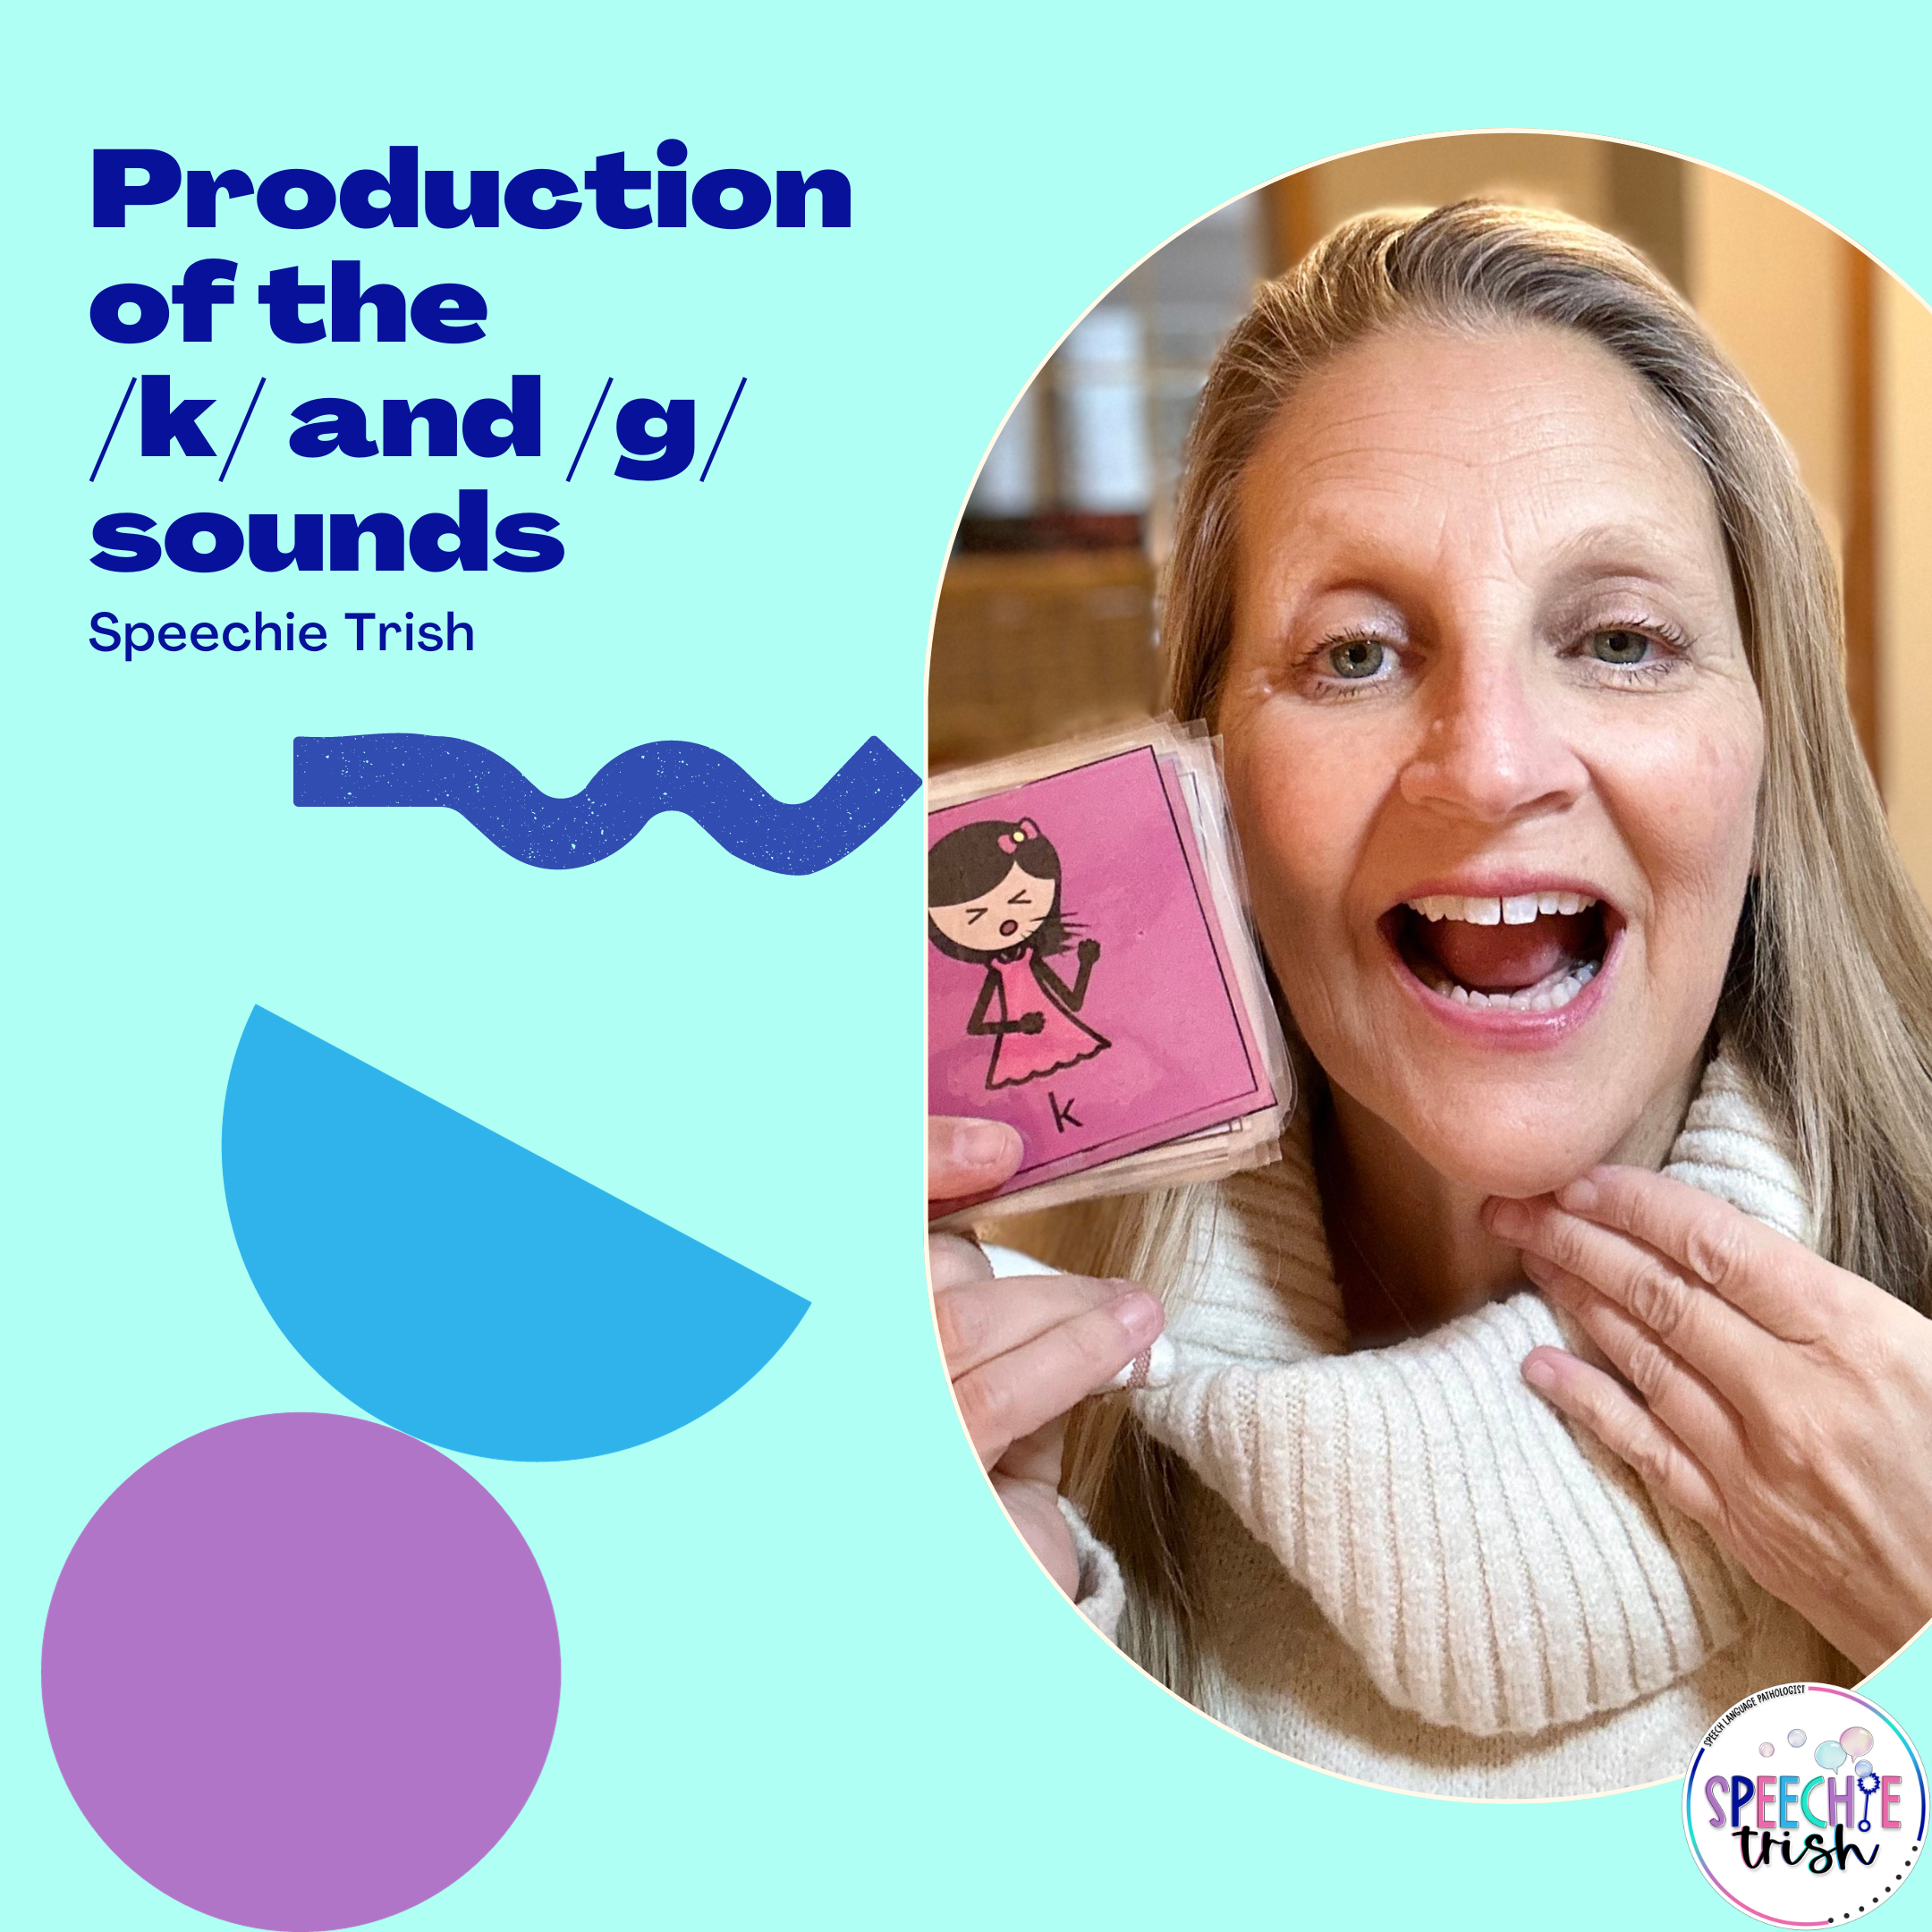
Teaching Production of the /k/ and /g/ Sounds in Speech Therapy
As young children are developing their speech sound skills when they begin talking, they make predictable error patterns (called phonological processes). As kids develop, these processes are expected to extinguish naturally. When children continue to exhibit fronting after age 3 ½, speech therapy may be required.
If a child is making errors on the /k/, /g/ and /sh/ sounds and producing sounds like /t/, /d/ and /s/ consistently instead, this is called fronting. Speech therapy can benefit children who are exhibiting the phonological process of fronting after age 3 ½. With children who are continuing to exhibit fronting, you might hear “o-tay” instead of “ok”, “I want the tea” instead of “I want the key”, “pet the dod” instead of “pet the dog” or “Let’s do” instead of “let’s go”.
As children are developing their speech sound skills when they begin talking, they make predictable errors patterns (called phonological processes). As kids develop, these processes are expected to extinguish naturally. When children continue to exhibit fronting after age 3 ½, intervention may be required (Bowen, Caroline, 2011. Elimination of Phonological Processes in Typical Development).
I love working on /k/ and /g/ because once children get these sounds, their intelligibility increases dramatically. That’s not to say working on these sounds isn’t tough at first, but the work is worth it!
HOW TO PRODUCE A /k/ sound:
The back of your tongue will touch your soft palate (velum), the tip of your tongue will stay down.( If your tongue tip goes up, you will end up saying the /t/). Then release a burst of air.
HOW TO PRODUCE A /g/ sound:
Same as the /k/ only you turn your voice on! (if your tongue tip goes up, you will end up saying the /d/)
I usually start with the /k/ sound and often, once kids get the /k/ sound, it gengeneralizes over to the /g/ sound and we don’t even have to work on it!

1) ELONGATE THE VELAR
Start with elongating the /k/ or /g/ sound (sounds a bit like you are clearing your throat). I call the /k/ sound the coughing sound and the /g/ sound is called the gulping sound in my speech sound cue cards resource. We are showing the child what a “back” or velar sound feels like as opposed to the sounds produced in the front of the mouth.
2) ADD A LOW VOWEL
Try to add a vowel to the /k/ or /g/ like the sound a crow makes “caw”. With the word “caw” the tongue doesn’t require much movement between /k/ and “aw” and the “aw” sound helps facilitate the child to keep their tongue tip down and mouth open.
If the /k/ or /g/ plus the vowel seems to be too difficult, try starting with the vowel and ending with the /k/ as in “aaak”. The positioning between the “aaaa” and the “k” is similar and again, both sounds require the tongue tip to be positioned down and the back of the tongue raised.
3) GET AS MANY REPETITIONS AS YOU CAN
Whichever combination of vowel-consonant (aaa-k) or consonant-vowel (k-aw) works with the child, try to get in as many repetitions as you can for that motor movement. Use activities with crows, and crafts to elicit “caw” as many times as the child will allow. There are many activities with food you can use and have the child say “aaak” for foods they think are yucky. Try my Velar Mini Books for practicing in speech therapy and at home!
4) ADD MORE VOWEL SOUNDS
After the child has these VC and CV combinations try using different vowel sounds in combination with the /k/ and /g/. The vowel sounds that work best for children who have difficulty with the velar sounds are “low front and back” vowel sounds (meaning the vowel is produced with the tongue at a level close to the bottom of the oral cavity and the jaw may also be lowered). This position of the tongue assists the facilitation of the /k/ sound that is paired with it. The vowels that I find work best are “aaa” (as in back), “aw”(as in bought) and “ai” (as in bike). After the child is able to use these vowels in combination with the /k/ sound, add different vowels like “uh” as in up and “E” was in “bet”.
5) USE REAL WORDS
When the child has some good /k/ sounds in combinations with vowels, try moving to real words using those “low” vowels again. Words like “bike”, “back”, “kite” and “caught”. These Velar Sound Mini Books work great for practicing real words including nouns and verbs!
6) USE MINIMAL PAIRS
I usually use a minimal pairs approach when working with children who are using front sounds /t/ and /d/ for back sounds /k/ and /g/. A minimal pairs approach takes two words that are similar but has a one sound (or phoneme) difference like “tape and cape”, “bite and bike”, “go and dough”, “bud and bug”. This technique helps children understand that speech sound errors they make change the meaning of the words they are trying to produce.

1) PROVIDE A TACTILE CUE:
Even with the above facilitating contexts, the child cannot produce the /k/ sound, we may need to assist them with keeping their tongue down. I use a spoon and have the child open their mouth and place the spoon on the front-middle of the tongue and ask them to say the /k/ sound. Sometimes the child really pushes up on their tongue trying to get that tongue tip up! I have also used a gloved finger, tongue depressor (but I myself am not a fan of the feel of a tongue depressor in my mouth), popsicles and lollipops to hold the tongue tip down which can work well for motivation. Visual Cues such as Speech Sound Cue cards work well for naming the sounds (the coughing sound or the gulping sound) and allow children to associate a hand cue and picture to the sound they are learning.
2) LET GRAVITY HELP
I have also had a child lie down flat on the floor face up and attempted production of the /k/ or /g/ sound. In this position, gravity will take the tongue to the back position, which can help in production.
3) KEEP THE TONGUE TIP DOWN
Can use cereal like Cheerios,or fruit loops and have the child hold the piece of cereal with their tongue tip against their front bottom teeth:
This will help kids keep their tongue tip down where it is supposed to be
Same thing with the /g/ just tell the student to turn on their voices
IF THE CHILD IS NOT READY
Sometimes I have put the production of velars on the back burner and worked on other sounds because the child was not ready for work on these back sounds.

Principles of Motor Learning for Treatment of Childhood Apraxia of Speech (CAS)
When learning about treatment for Childhood Apraxia of Speech (CAS), we hear that we need to use the principles of motor learning (PML), so what does that mean? These principles or processes are how we all learn new motor skills or plans. Speech is a motor skill that can improve using these principles. Treatment may be designed differently depending on the child (with differences in severity, attention and motivation ), but applying the PML will provide a roadmap to support and treat children with CAS.

When learning about treatment for Childhood Apraxia of Speech (CAS), we hear that we need to use the principles of motor learning (PML), so what does that mean? These principles or processes are how we all learn new motor skills or plans.
Speech is a motor skill that can improve using these principles.
Treatment may be designed differently depending on the child (with differences in severity, attention and motivation ), but applying the PML will provide a roadmap to support and treat children with CAS.
Following is a guide for using principles of motor learning that I use when I treat children with CAS (based on research):

1) PRACTICE, PRACTICE, PRACTICE:
Imagine learning to swim. You didn't jump in the water and swim right away, you had to practice moving your body in different ways to float and stay afloat, then to move forward, all the while breathing at the same time. The same goes for children with CAS. Regular practice is the most important aspect for generalization of speech production.
It's all about getting enough practice trials per session to make the motor speech movements second nature and automatic. But remember, quality matters as much as quantity. Be attentive to the child's response, and adjust cues accordingly. As they progress, you can gradually fade those cues.

2) MASSED PRACTICE VS. DISTRIBUTED PRACTICE:
Think of this as the difference between cramming for an exam and studying consistently over time. For CAS, research suggests that frequent, shorter sessions spread out over time are more effective for progress and generalization.
Starting with massed practice (practicing all at once- think one session weekly for a longer time period) to build a strong foundation, then transitioning to distributed practice (therapy spread out across sessions- think 4, half hour sessions weekly). I know sometimes we don't have the luxury of changing a schedule like that in schools- but see principle number 3 for ways to change up practice within time constraints.

3) BLOCKED VS. RANDOM PRACTICE:
Blocked practice is practicing one target extensively before moving on, then later randomizing practice by mixing several targets together. An example is initially you might choose 5 words including bilabials plus vowels (like poo, ba, me, ma, and pee) and focus on those only. As the child improves, you can randomize the targets for example adding a vowel consonant productions in (i.e. “up, oop, um”)
The severity of CAS can be your guide here. For severe cases, more blocked practice might be necessary, but you can modify it by mixing targets within blocks. This variation allows you to get more repetitions of target movements within each blocked practice.

4) VARY CONTEXTS AND PROSODY
Facilitate practice in different contexts. Vary the types of consonants or vowels and the positions that they are in . For example, change the initial set, going from CV (consonant-vowel) to CVC (consonant-vowel-consonant). Increase complexity of movements as the child gains the accurate motor movement sequences.
Experiment with prosody, loudness, and emotional intonation. This variability engages different muscles, enhancing motor planning processing and efficiency – our ultimate goal.

5) FEEDBACK MUST BE EVER-CHANGING
Feedback is dynamic throughout a child’s therapy program. Feedback can be intrinsic (what the child perceives) or extrinsic (what we provide for the child). Extrinsic feedback can be knowledge of results (was that right or wrong) or knowledge of performance (specific guidance on what specifically needs improvement).
Initially, provide more feedback to guide the child, but gradually fade it as they become more accurate and independent in their speech movements. We don’t want too much support for too long otherwise the child could become dependent on the supports. We want to fade supports so children know how to produce the movements independently.
Often the type of feedback can change depending on the target and the accuracy of that target.
Using the Principles of Motor Learning:
Using the Principles of Motor Learning is like having roadmap in the world of CAS therapy. These principles guide speech therapy leading our children toward improved communication skills. So, practice often and adapt to the child's needs whether it be with feedback, type of practice or contexts.